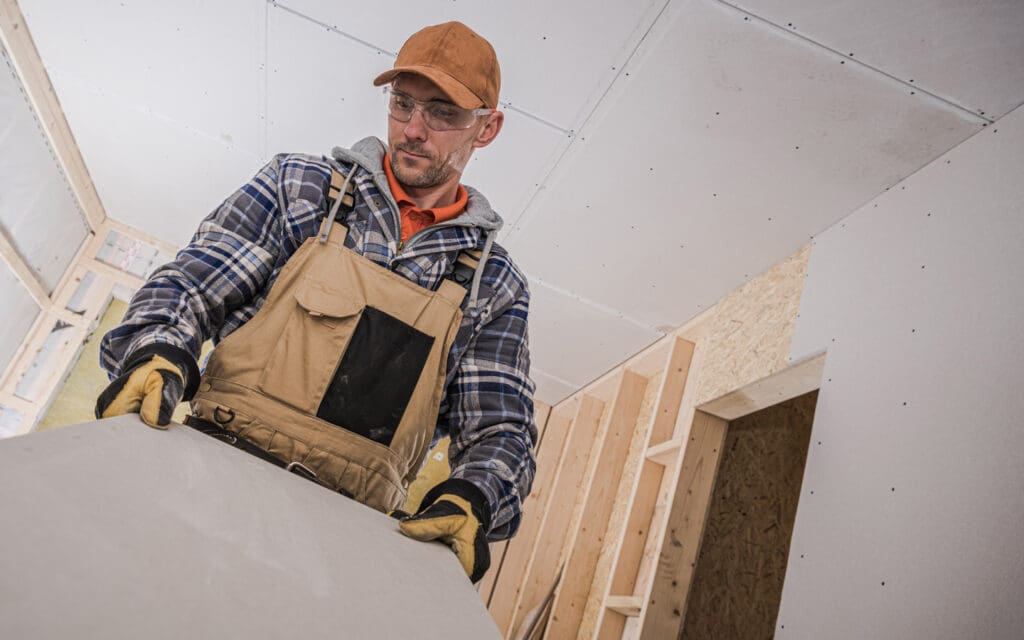
Repairing drywall is fairly easy. However, there is an art to it, even with DIY jobs. Here are 10 DO and DON’T tips to help you repair your drywall the right way without the need to hire a costly professional.
10. DO Use Drywall Patches for Large Holes
Anything larger than a small nail hole requires a mesh drywall patch. Filling a hole only using drywall spackle will shrink and crumble after drying. Most kits come with everything needed for repair. Place the patch over the hole, then spread the joint compound over the patch and smooth around the edges. Once dry, sand until smooth.
9. DON’T Patch Drywall for Small Holes
Patching drywall is unnecessary for small holes. Kits are available for these repairs. 3M Patch Plus Primer 4-in-1 comes in a plastic tube that contains spackle. One end of the tube is shaped into a putty knife, while the other has a sanding pad. It’s perfect for small nail holes and other minute repairs.
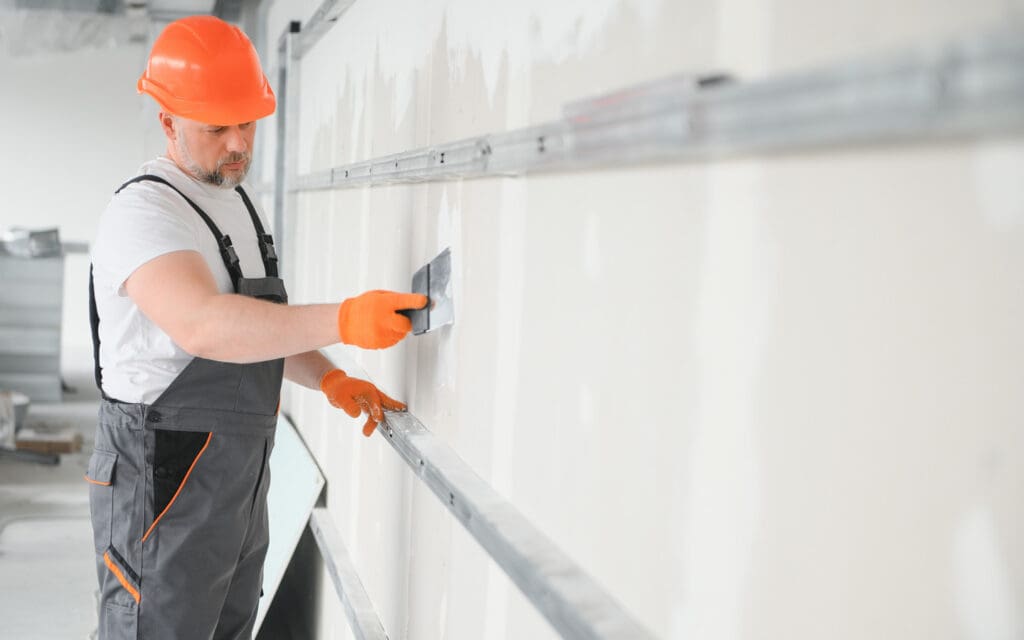
8. DO Use the Right Type of Joint Compound and Putty Knife
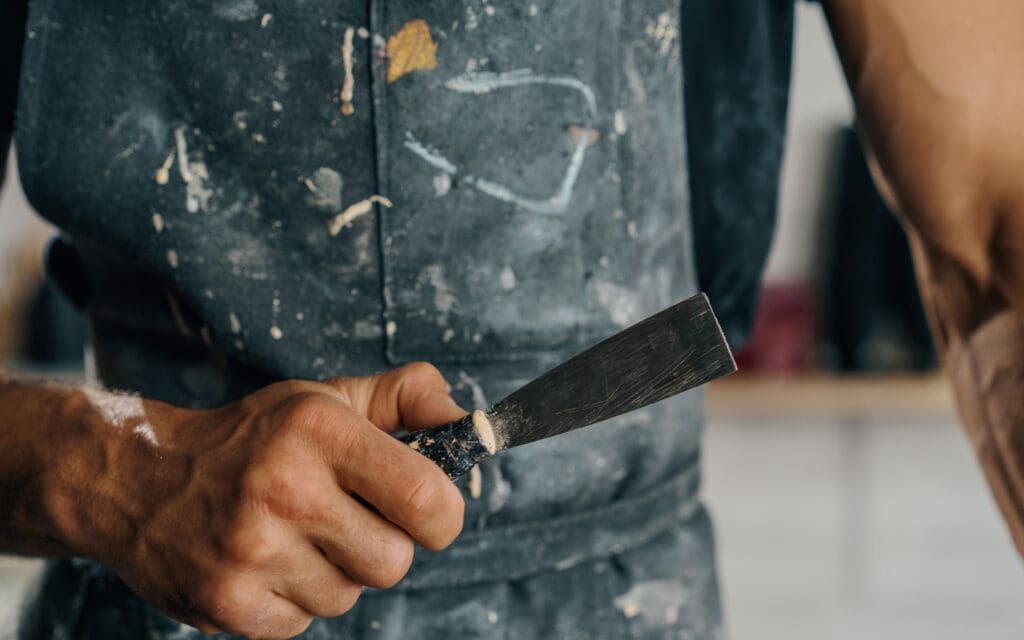
When repairing minor scratches or dents smaller than 1/2 inch across, apply a thin layer of joint compound (drywall mud). Use a 3- or 4-inch putty knife made for drywall (not the sharper kind made for wood putty) and smooth until flush with the wall. For cracks or holes larger than a half-inch, use reinforcing mesh before spackling.
7. DON’T Forget to Use Drywall Tape to Prevent Messy Seams
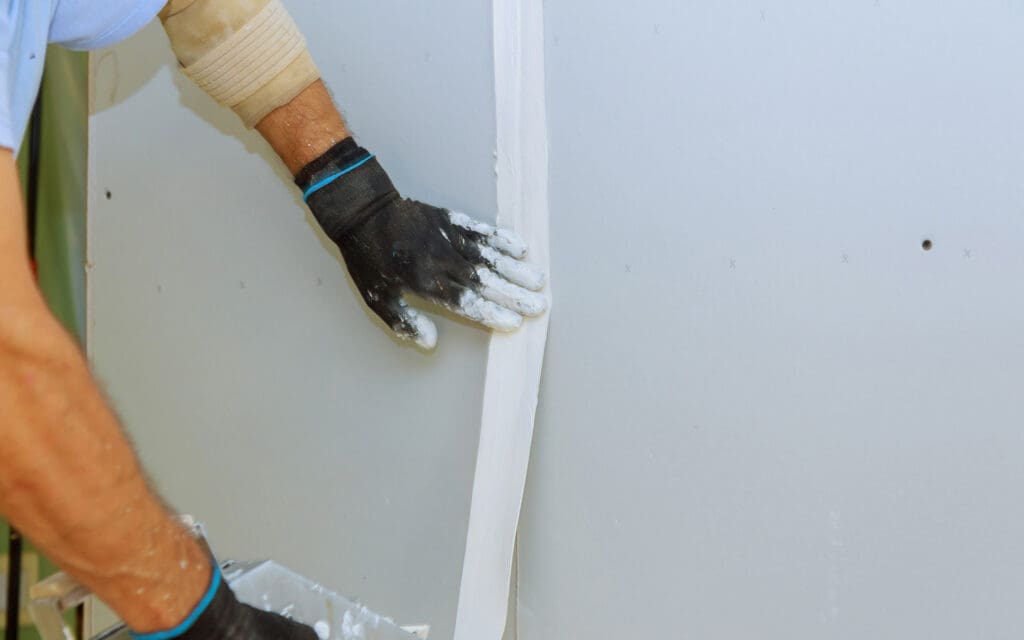
Don’t apply joint compound over seams without drywall tape. Tape will help hold the compound in place. It prevents sagging as it dries or cracks or crumbles out of the seam over time. Most pros use paper tape for quick application and the smoothest finish. Non-pros may find self-adhesive tape easier to use. For bathrooms, use moisture-resistant tape.
6. DO Replace Drywall Corner Bead on Damaged Drywall Corner Joints
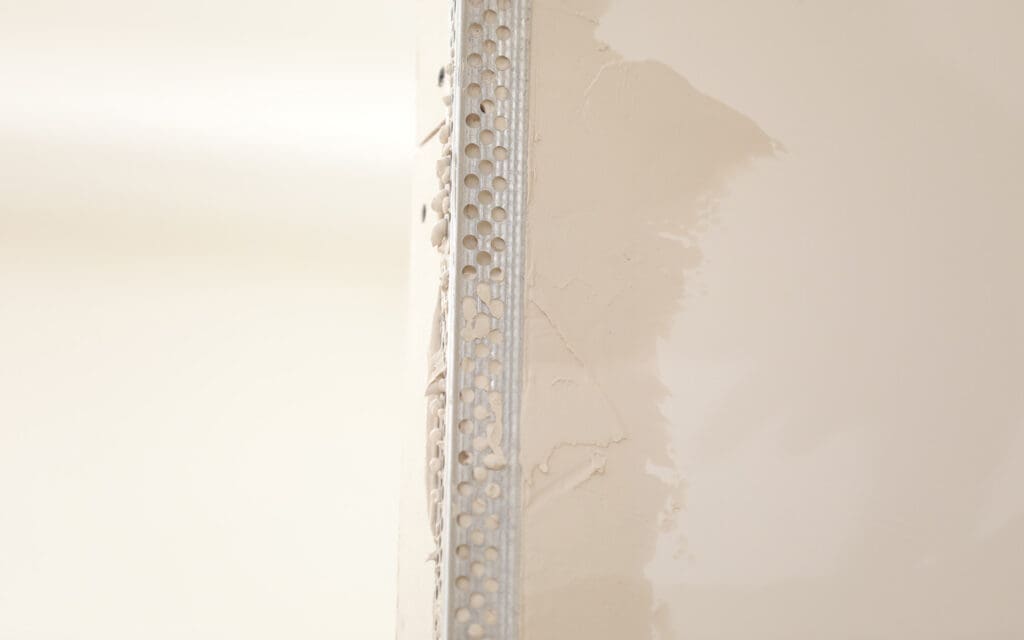
House settling can cause corner drywall beads to crack, buckle, and crumble. If the corner uses a paper-faced corner bead, use tin snips to cut a new piece. Apply joint compound over the damaged corner using a trowel, then press the new piece of corner bead onto the area. Mud the sides, allow to dry, then sand smooth and re-paint.
5. DON’T Overlook Popped Nail Heads

When homes settle, framing can twist. Nails holding the drywall can become a visible bulge called “nail pops.” These can occur with roofing repairs as well. For a permanent fix, tap the nail in, then drive drywall screws an inch above and an inch below the nail. Use 3M Patch Plus Primer or spackle to cover the screw holes.
4. DO Use Furring Strips for Large Drywall Patches

Holes over 6 inches wide require a furring strip (backing board) for support. Cut strip 4 inches longer than hole. Drive a drywall screw halfway into the center of strip. Hold strip by screw. Place inside hole. Position to overlap 2 inches on each side. Drive several screws into each side of strip where it overlaps to hold in place. Attach drywall to strip using drywall screws.
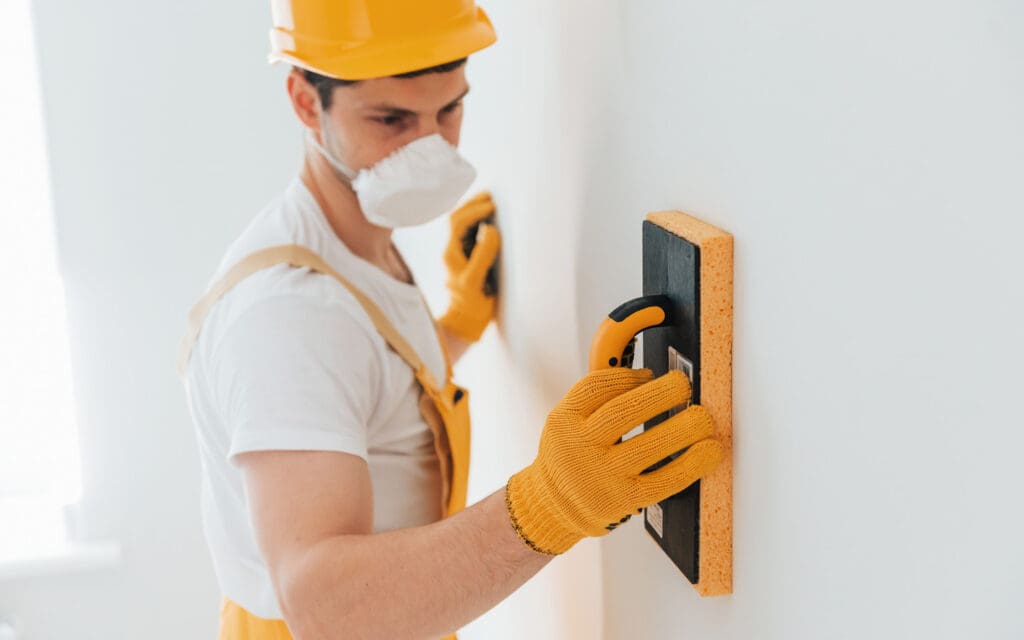
3. DON’T Skimp on Sanding After Patching Holes

The keys to a smooth finish with your drywall repair job are how well you layer your mud and sanding. Once the repair is dry, use fine-grit (100 or 120) sandpaper. Then, add another light, thin layer of mud, spreading it around 2 inches beyond the boundaries of the first layer. After drying, give it another round of sanding.
2. DO Locate Wall Studs and Electrical Wires Before You Begin
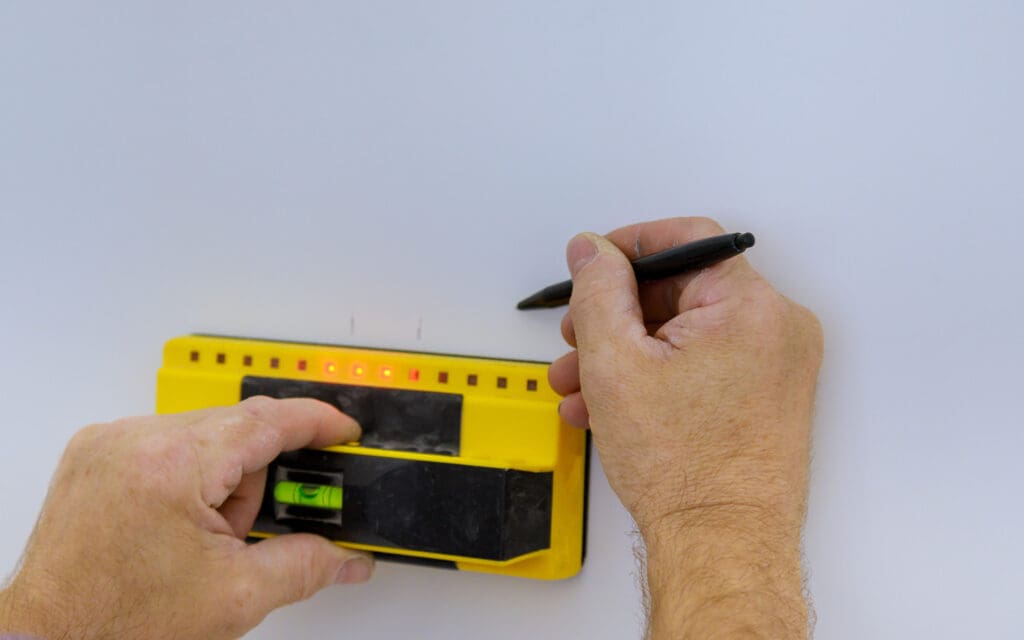
Electrical wires and plumbing run along wall studs. Before beginning any drywall repair project, locate the wall studs to avoid coming in contact with pipes or wires. If studs can’t be found by visible nail pops, use a stud finder. Use painter’s tape along the baseboard or on the wall to make pencil marks to indicate stud locations.
Read More: 5 Reasons You’ll Regret Buying a ‘Smart’ Appliance
1. DON’T Forget to be Neat and Inspect Your Work
You want smooth walls, so don’t forget that neatness counts. Go as light and thin as possible when applying joint compound. After the mud has dried, when you think you’re done, run your hand over the wall to ensure that it feels smooth. Put your temple to the wall and look for bumps that may need more sanding.
Read More: How to Choose a Trustworthy Installation Service